How to access a previously registered DICOM volume ?
If the user had previously registered a DICOM volume, the access to the DICOM volume is immediate, following these steps:
Lets take an example: suppose that a TDM-scan has been registered on a MRI.
- Select first the MRI on the database (double click on the corresponding row). The sagittal, coronal and axial views will be displayed in the background of the viewing windows.
- Click on the icon “Add overlay” :
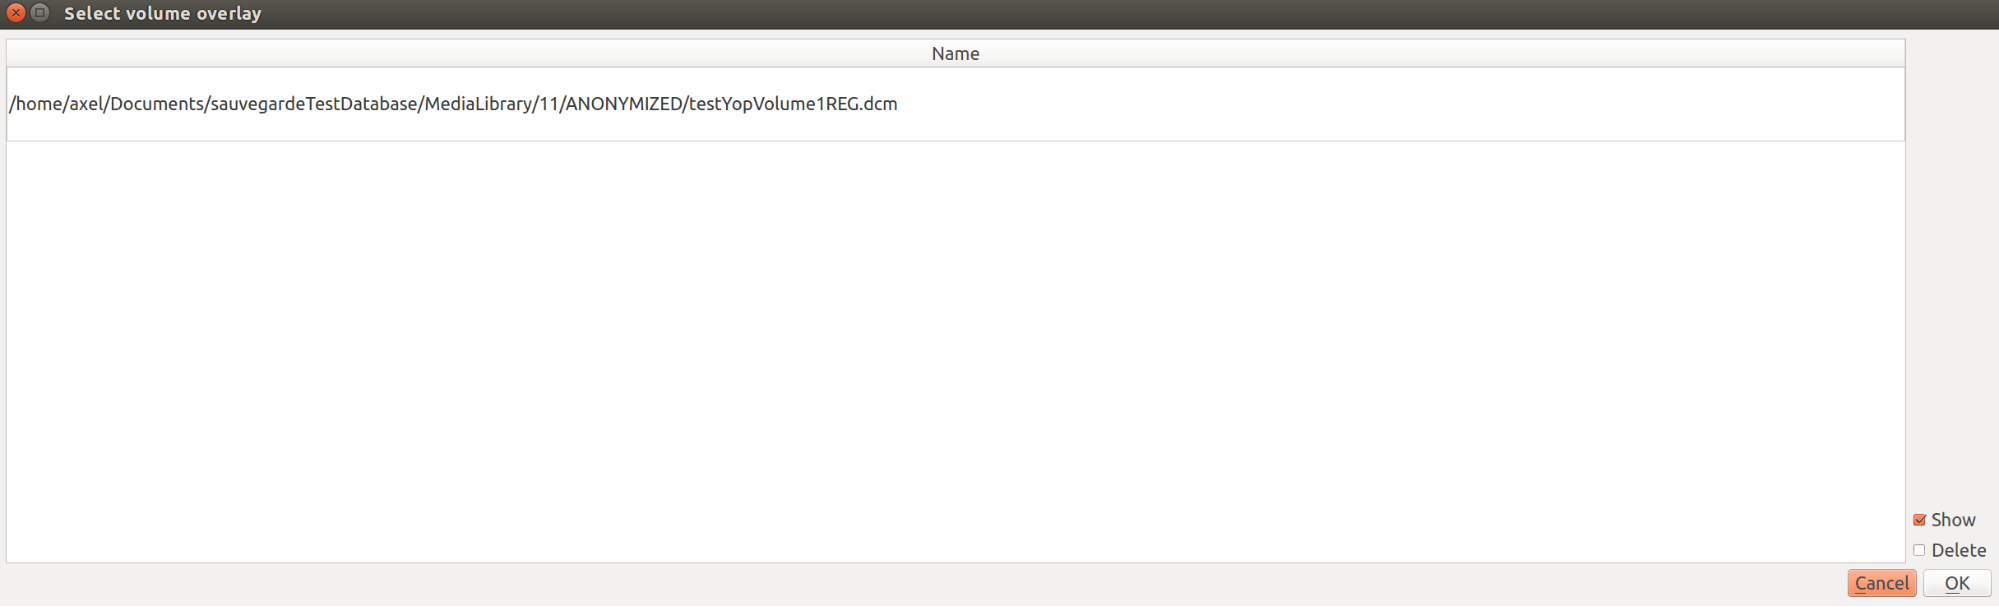
 . A dialog window is displayed, in which are listed all the registered DICOM volumes previously registered to the DICOM volume on the background.
 - Double click on the row corresponding to the DICOM volume to be displayed.
Now, both DICOM volume are displayed on the viewing windows. The user can navigate in them using the mouse (see “How to navigate in a DICOM volume ?”).
Above, the dialog window in which the user can choose the DICOM volume on top of the background volume (double click on the selected row).
Selecting the currently active layer
At this point, two layers are displayed in the viewing windows. A spinbox is located in the right side of the toolbar (see above). It indicates the layer number which corresponds to the currently active DICOM volume. If the number “2” is displayed, it means that the second DICOM volume is currently activate. When a modification of transparency or contrast is made, it will be applicated only on the second layer (second DICOM volume).

Managing the layers
Delete a layer
Layers can be deleted.
- Click on the main toolbar “Manage DICOM objects”. A new menu is displayed in which each DICOM volume is listed. The DICOM volume on the top of the list is the DICOM volume corresponding to the first layer (the background DICOM volume)
- Make a right mouse click on the label of the DICOM volume. A new menu is displayed, showing “Remove this volume”.
- A left click on this menu will remove the DICOM object.
Hide a layer
The user can hide one or more layers, following these steps:
- Click on the main toolbar “Manage DICOM objects”. A new menu is displayed in which each DICOM volume is listed. The DICOM volume on the top of the list is the DICOM volume corresponding to the first layer (the background DICOM volume)
- Make a left mouse click on the label of the DICOM volume. The selected layer is hidden. The tip at the beginning of the DICOM volume's name is hidden.
Expose a layer
The user can make visible one or more layers, following these steps:
- Click on the main toolbar “Manage DICOM objects”. A new menu is displayed in which each DICOM volume is listed. The DICOM volume on the top of the list is the DICOM volume corresponding to the first layer (the background DICOM volume)
- Make a right mouse click on the label of the DICOM volume. The selected layer is visible in the viewing windows and the tip at the beginning of the DICOM volume's name is visible.
Switch layer position
The user can change the order of the layers, following these steps:
- Click on the main toolbar “Manage DICOM objects”. A new menu is displayed in which each DICOM volume is listed. The DICOM volume on the top of the list is the DICOM volume corresponding to the first layer (the background DICOM volume)
- Make a left mouse click on the label of the DICOM volume. hold the mouse right button and drag the label to the new position in the menu.
- When the left button is released, the position of the layers in the viewing window and the menu are updated accordingly.
Back to “Table of contents”
JimboDICOMViewer
User’s manual jan-2016